MS Access 2007: Add Objects to Form
This MSAccess tutorial explains how to add objects and controls to the form in Access 2007 (with screenshots and step-by-step instructions).
How to add objects to form
Our next step is to add objects from the Suppliers table to our form in Access 2007.
Since we've already specified our Record Source, Access gives us some nice features to quickly drop objects onto our form.
Select the Design tab in the toolbar at the top of the screen. Then click on the Add Existing Fields button in the Tools group.

A Field List window should appear on your screen as follows:

The Field List window shows all of the fields that are available for your form to use, based on the Record Source property. Since we have selected the Suppliers table in our Record Source property, we can see all of the fields from the Suppliers table in the Field List window.
To add one of these fields to your form, highlight the field in the Field List window, and then drag it to the location in the form where you wish to add this object.
MS Access 2007: Resize Objects on Form
This MSAccess tutorial explains how to resize objects and controls on the form in Access 2007 (with screenshots and step-by-step instructions).
How to resize objects on form
We've chosen to add the following three objects to our form in Access 2007 - SupplierID, CompanyName, and ContactName.

The first thing that you'll probably want to do is resize your objects. To do this, click the object that you wish to resize.

You should notice small boxes around the perimeter of the object. Move your mouse pointer over one of these "resizing boxes". When your mouse pointer displays double-headed arrow, hold down the left mouse button and drag the object to the desired size.
If you wish to move the object, move your mouse pointer until it looks like a diamond with 4 arrows. Then hold down the left mouse button and drag the object to the desired location.
MS Access 2007: Form View
This MSAccess tutorial explains how to view the finished form in Access 2007 (with screenshots and step-by-step instructions).
Viewing finished form
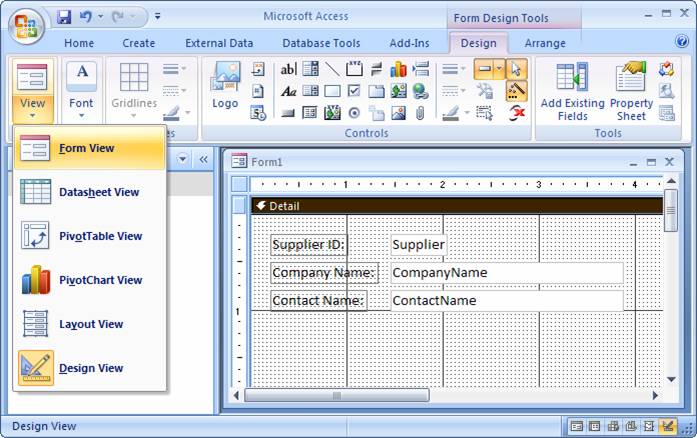
Now that you have finished placing your objects on the form, you will want to view the form as a user would in Access 2007. This whole time you've been editing your form in Design view.
To view your form, select the Design tab in the toolbar at the top of the screen. Then click on the View button in the Views group and select Form View from the popup menu.
|
|
|
Our form looks like this:

MS Access 2007: Save Form
This MSAccess tutorial explains how to save a form in Access 2007 (with screenshots and step-by-step instructions).
Saving form
One final step is to save our Form object in Access 2007. You can do this at any time during creation of the form, but for the purposes of this tutorial, we are saving this as our last step.
Click on the Save button  in the top left of the toolbar.
A "Save As" window should appear as follows:

Select a name for the form and click on the OK button. We usually always prefix our form name with "frm". It is just a naming convention that we use.
Now when you return to the Navigation Pane, you will see your form in the list.
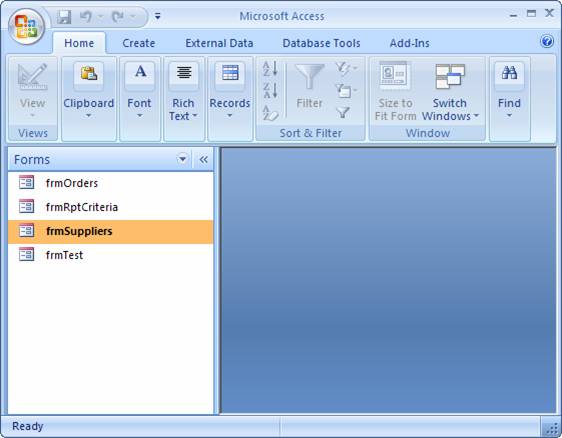
Congratulations! You've now created your first form in Access 2007.
Дата добавления: 2018-05-02; просмотров: 311; Мы поможем в написании вашей работы! |

Мы поможем в написании ваших работ!